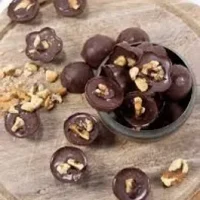
Super Easy Fat Bombs
Ingredients
- 1 cup Nut OR Seed Butter of your choice
- 2 cups Enjoy Life Chocolate Chips
- Optional Nuts of Seeds for garnish on top
Instructions
1. Using cupcake liners, line a cupcake pan.
2. In a small saucepan, combine your nut butter and chocolate chips and melt together over low heat, until combined.
3. Whisk very well and spoon into the cupcake liners.
4. Place in the freezer.
5. If desired, garnish with nuts or seeds before freezing.
6. Freeze for 1 hour.
7. Fat bombs can be kept frozen for up to 6 months or kept in the refrigerator for 2 months.